Photoshop is no doubt a very useful tool and this simple tutorial will take you through how to go about using it. In this article, we’re explaining the main factors to consider while using Photoshop by beginners.
Workspace
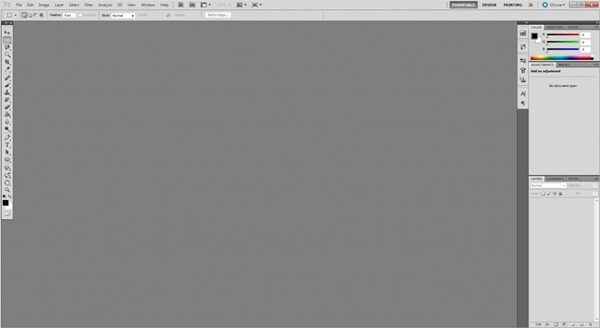
As soon as you open Photoshop the first thing that you will see is a gray area which is the space you can start working on. You can start by bringing mouse to the left side, upper portion and click on file and then new. This will open a new dialogue box which may confuse you at the beginning but once we take you through what it means, you will get it.
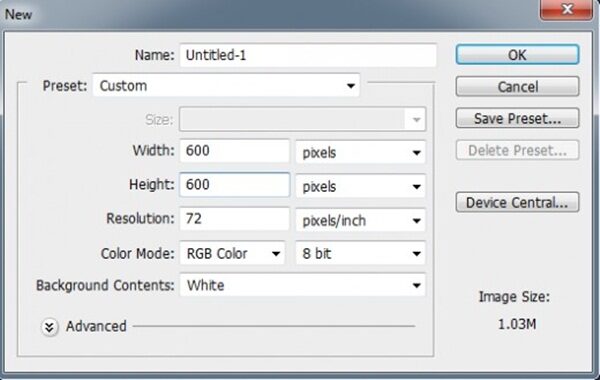
New
Once the New work dialogue box is open you can enter options like width, length, resolution, color mode, background contents to get a space you can work on.
The Tool Box
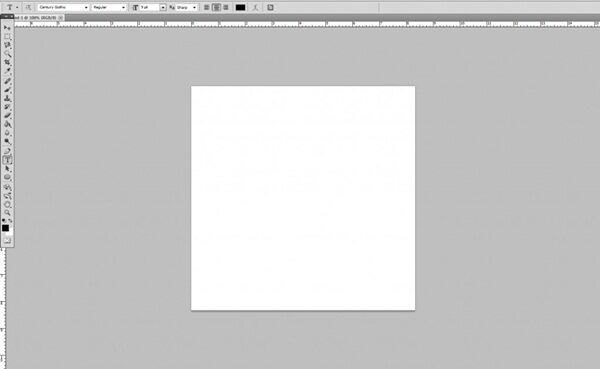
Once workspace is done find the toolbox, which has 22 tools each one of which has its own function. To begin with a look at the Text tool which is denoted by the alphabet T. To use click on this in the toolbox or type T. With this the mouse will change and tool selected.
Making Text
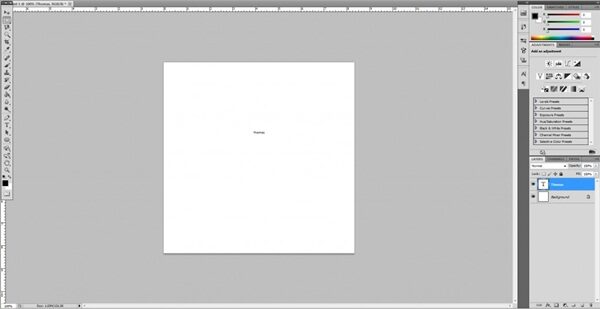
Then pull the left part of the document on to the right side to create a text box in which you can type in text and highlight and then click on center button.
Editing Text
We have created text to edit, highlight text and move mouse underneath the Toolbar. Click on the biggest field and pick a font of your choice. Then once this is done we can work on size. You can also tweak the color, the distance between letters, warping and more.
Layers
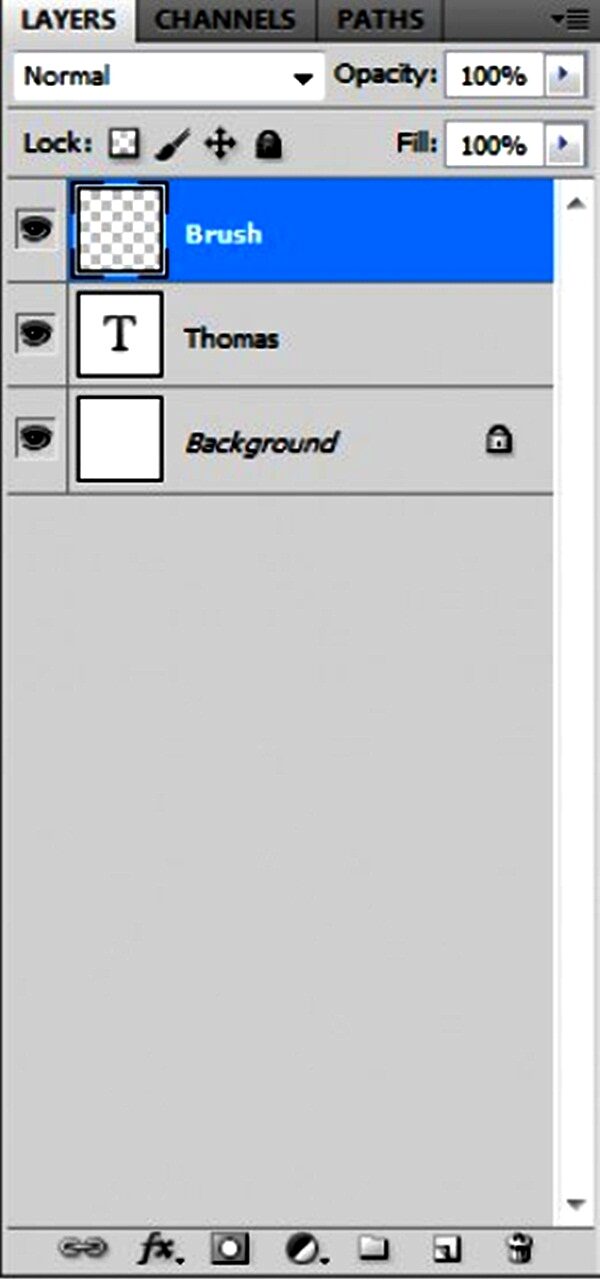
Now make a new layer which basically means a new document within the document. This will ensure that some facets of an image can be edited separate from another without tampering with the whole thing. You can get this done by clicking on Layer the New Layer or using keys CTRL+Shift+N. Alter the name of layer to “Brush” and click okay.
Brush!
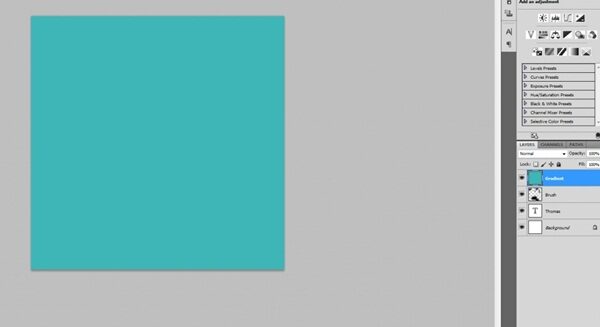
You can either type B on keyboard or click on the brush like tool in the toolbox. The cursor will change as it did for the text tool and a new toolbar will come up. You can go to toolbar and click on the drop down arrow or with brush type. Select SOFT brush and click away from the drop down menu. Start drawing on the document adjusting brush size as you go. Once done with brushing, create a new layer and name it Gradient. Type G and then X which means that the gradient tool has been selected. It will swap background and foreground hues. Click on white box under Toolbox and pick the hue you want and then click on document to see the color come about.
Layers 2
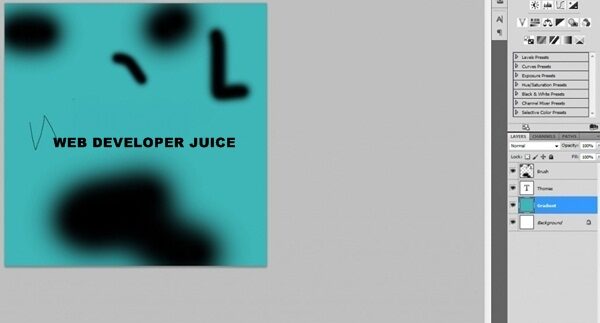
At this time you will see text and brush work disappearing, do not worry as we are working on different layers, it is easy enough to put right. Just go to right hand side at the bottom and find layers box. Pull Gradient layer under the layer that you named and you will get it.
Save!
Of course it goes without saying that you need to save by going to file and selecting save as and naming the file. Now you have a grasp of how things in a very basic way.
Here is a brief summation of all that you picked up in this session like the workspace, the toolbox, the text, the brush, the gradient. Which brings it to so many new things in such a brief time period? The thing is that all these things will come in handy when you work on Photoshop every time.
