Wondering what exactly is CSS Sprite? Sprite is nothing but a Web compatible picture in PNG, GIF or JPEG format that consists of wide range if CSS applied Background images for rendering various elements on your Web Page. The main idea behind having CSS Sprites is that one can write CSS Classes in a manner that will help you determine the width and height of the elements as well the position within the CSS Sprite Image so that only related portion of the CSS Sprite Image will be displayed in the background of the element. A CSS Sprite is more of a technique or a strategy rather than a distinct object something similar to s DHTML is just a technique of using JavaScript to modify the Document Object Model.
Merits if using CSS Sprites
• Using CSS Sprites will decrease the number of HTTP requests which ill in turn reduce the page load times for the reason that each of the HTTP request has latency when the request is established and after that fulfilled.
• Using CSS Sprites will ensure that Less Number of Files Clutter up on the Web Server.
• When the Web browser downloads any new picture or image a nasty flicker occurs which is reduced or completely removed with the use of CSS Sprites with the use of Hover Pseudo Class of the element.
As every coin has two faces same is the case with the use of CSS Sprites it has few drawbacks too but however the merits over weigh the demerits and hence using CSS Sprites is worth it. Here are few drawbacks listed below:
• CSS Sprite creation is a little time consuming for the designer.
• CSS Sprites slightly add to the increase in the complexity level of CSS
• If you remove any graphical element from the image in that case amending it will require you to put in extra efforts positioning it accordingly.
• If you want to add an extra element or edit an element in that case you will have to reedit the complete CSS Sprite and upload it again.
CSS Sprites might not be just perfect for all types of websites however they can be of great help under right circumstances.
If you feel that your website is commonly used by Dial-Up users and Mobile Users and is popular amongst them in that case you will want to consider making use of CSS Sprites together with CSS and JavaScript Minification as they tend to decrease the number of HTTP requests that are made by your website thereby proving to be of great help to users with slow internet connectivity.
With the use of CSS Sprites a designer can add Roll Over effects with ease devoid of having to make use of JavaScript or having to think much about Preloading the images and as well these Sprites will provide you a simple and easy way of reducing the loading times on your Web Page. So when using CSS Sprites you will have several images stored on their and all the images will be combines into a huge image which is referred to as the Sprite and only that portion of the big image will be displayed which you want to exhibit using CSS.
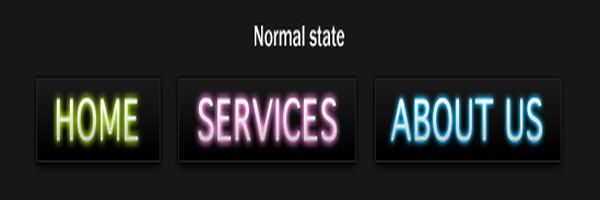
Here is a good CSS Sprite Example of designing a Navigation Menu with Multiple States other than the normal state with a detailed Demo on how to create it with the today’s Best Web Design Practices:
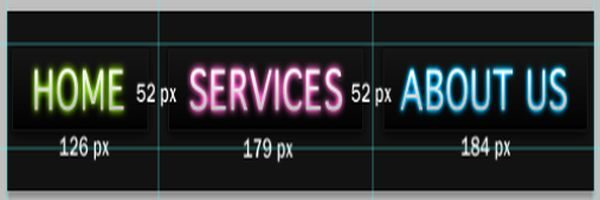
1) The foremost step is to set up one image for each of the Menu Image states as shown below :
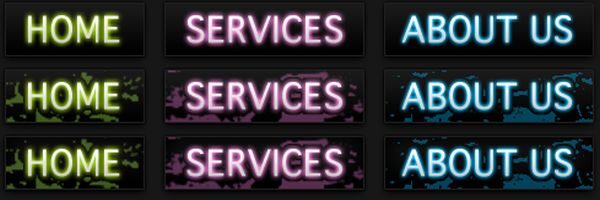
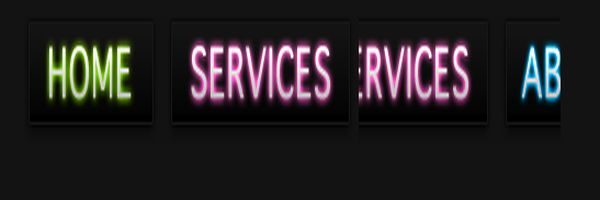
2) After this you have to combine all the three Navigation Bar Images in various states into a single image as shown below .It is just so simple all the three individual image files in three different states should be Copied and pasted into a single image as shown below :
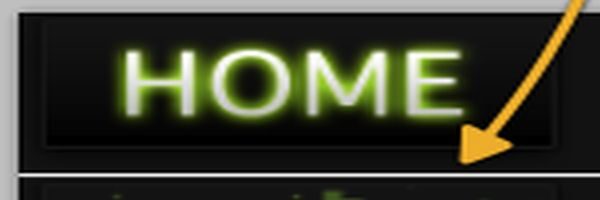
3) Having done this you should measure the height of each of the buttons as shown below :
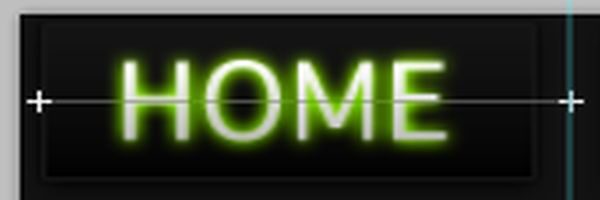
4) After measuring the height make a note of the Width of the buttons as displayed in the image :
5) You will not get the image with Height and Width as shown below :
6) Now you should set up the Navigation Bar using the below code :
7) Making use of HTML Unordered Lists for the Navigation Bar Links :
8) Now add images to each of the links :
9) Having added links to individual images you will have to add Hover States to each of the image on the Navigation Bar :
10) Now the last step is to add the Active State to the Navigation Bar by giving the keyword Active for all the Clicked Linked States.
